|
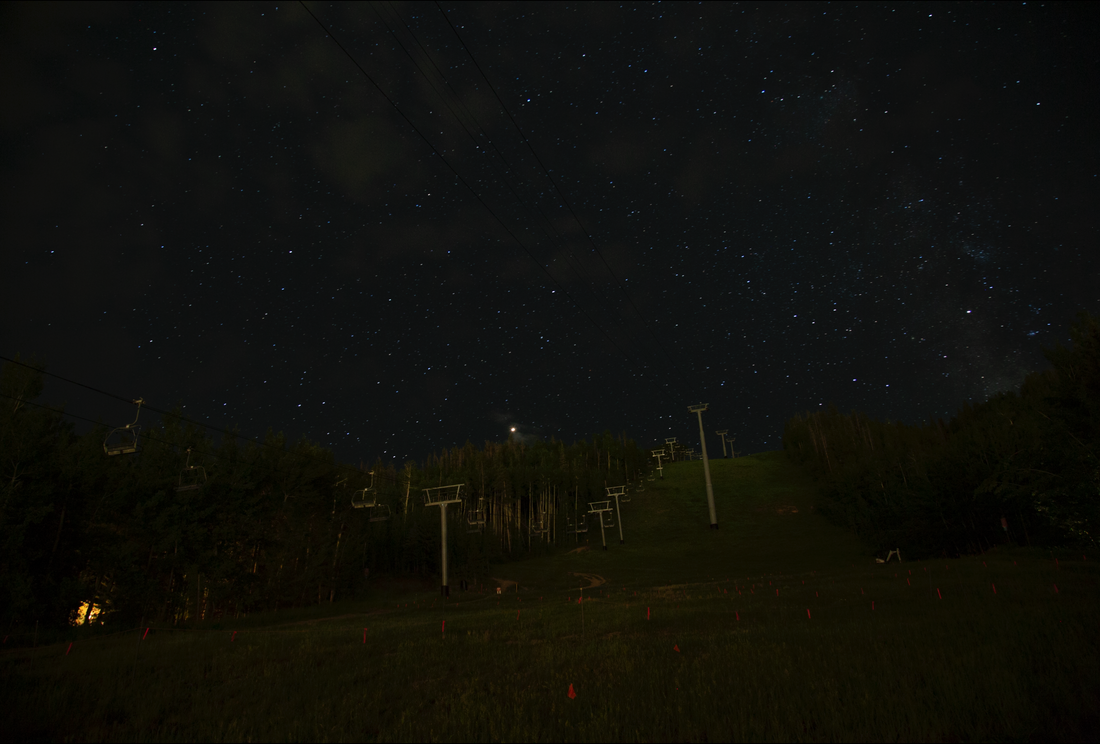
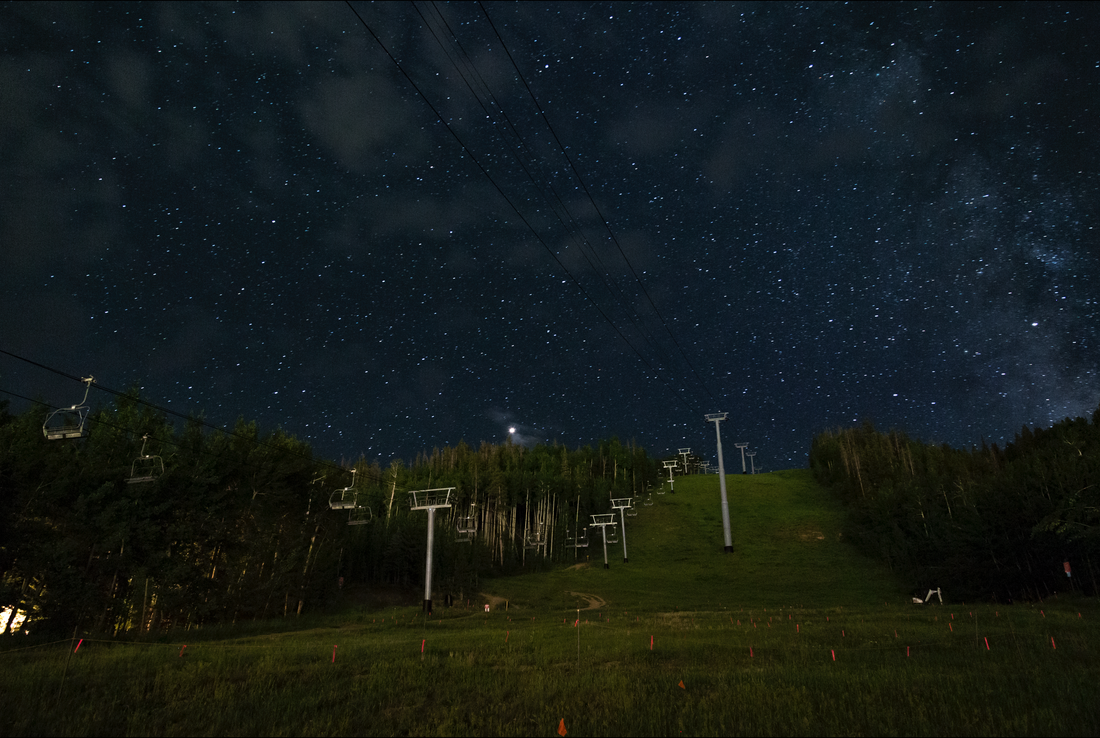
I absolutely love getting photos of the night sky, because it is such a challenge to it! Star trail photography is so interesting because it's something that you can't see with your eyes. Read more to learn how I make them! First, I go outside at around midnight when there's a new moon or it's close to a new moon and no clouds. I set up my camera (Canon 5d Mark iii) on a tripod and usually try to point it towards the north star, because that's where all the stars "rotate" around. If you point it east or west, the star trails will be more of lines, not circles, due to the earth's rotation. I use a Canon 24-105mm f/4 lens for these images, because I need a wide field of view. I usually use the settings of iso 1000 and my aperture is ALWAYS set to f/4. I then use a Vello Shutterboss II, which is a remote shutter release that lets me set it to take certain number of pictures automatically. I put my camera on Bulb mode and set it to RAW, and then plug in the remote shutter release and set it to take 200 30 second exposures. Once it starts, I go inside and do something to pass the time. Once the two hours is up, I go out and retrieve my camera. Next I transfer all my images to my MacBook through Lightroom CC. I do lens correction to all of them, change the white balance, sharpen and noise reduction it, and then change some of the other settings to make sure it looks nice. I then sync those edits to every one of the pictures. Next, I export all of them to a folder on my desktop, and then I import all of them into Photoshop CC as layers. Since I took 200 photos of the sky, and the earth rotates, the stars seem like they rotate around the earth. In Photoshop, you can layer all of these images on top of each other so you see the star trails. I then select all the photos and then change the blending mode to "Lighten". This causes the brightest parts in each image (the stars) to layer on top of each other. This makes the beautiful star trails! I then removed with the clone stamp tool all of the orange flags in the foreground, and then lighted the foreground a little more. I export it back to my desktop, and then import it back into Lightroom! Thanks for reading! 
0 Comments
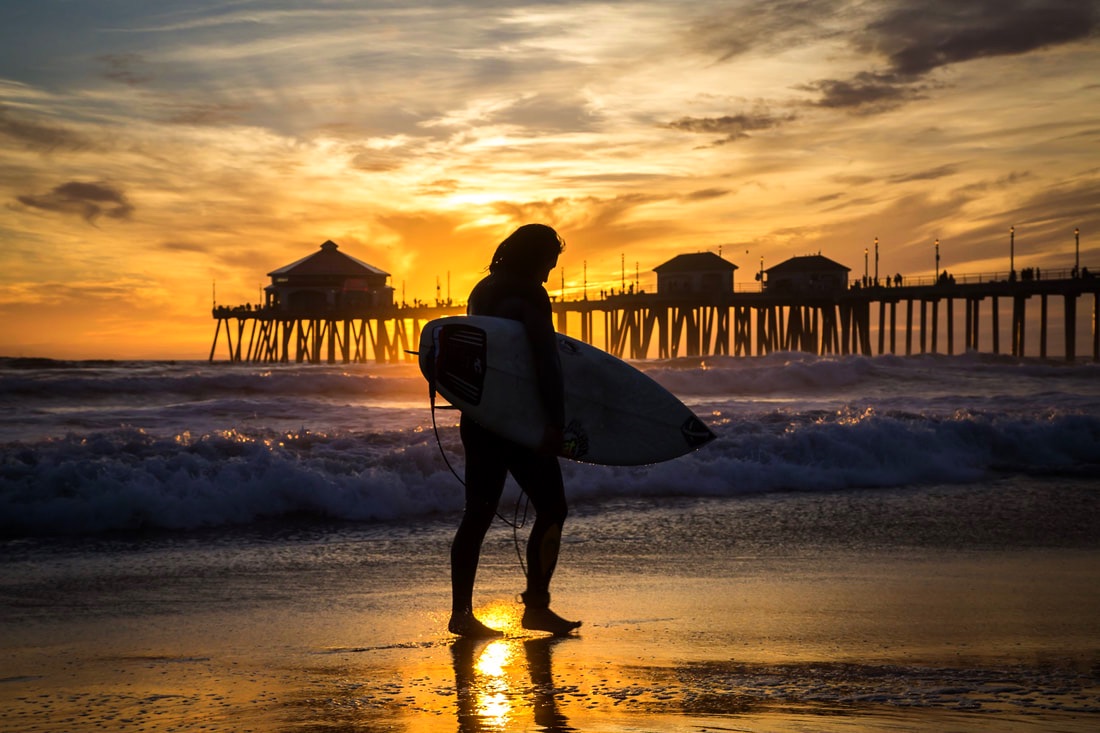 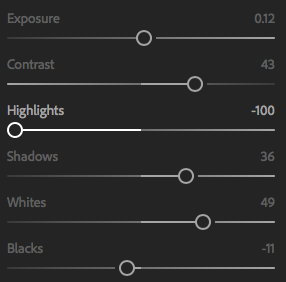 I really love this photo, mostly because the surfer is a silhouette against pretty sunsets, and I love the shapes of the waves and how the sun is reflecting right by his feet. This one was also an interesting one to edit, because it was hard getting the details in both the shadows and the highlights. I edited in Lightroom, and the first thing I did was increase the exposure and bring down the highlights, and then bring the shadows up, and then set the white and black points. This made it into a more HDR feel, and then to really make the image pop I also upped the clarity and vibrance. After these changes the image looked pretty good, but the sky was still too bright and the water really didn't pop. So, I used gradient filters to increase contrast and lower exposure in the sky, and then using adjustment brushes to make the color more blue in the water. After sharpening and some noise reduction (and a little bit of a vignette), the image was ready to showcase. Here's the before image at the bottom, and as you can see it lacks the contrast and color that the finished image has. 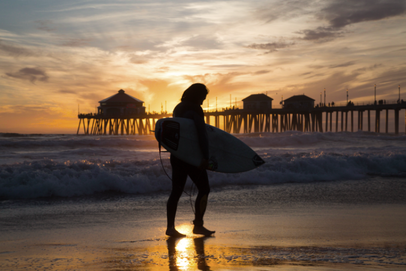 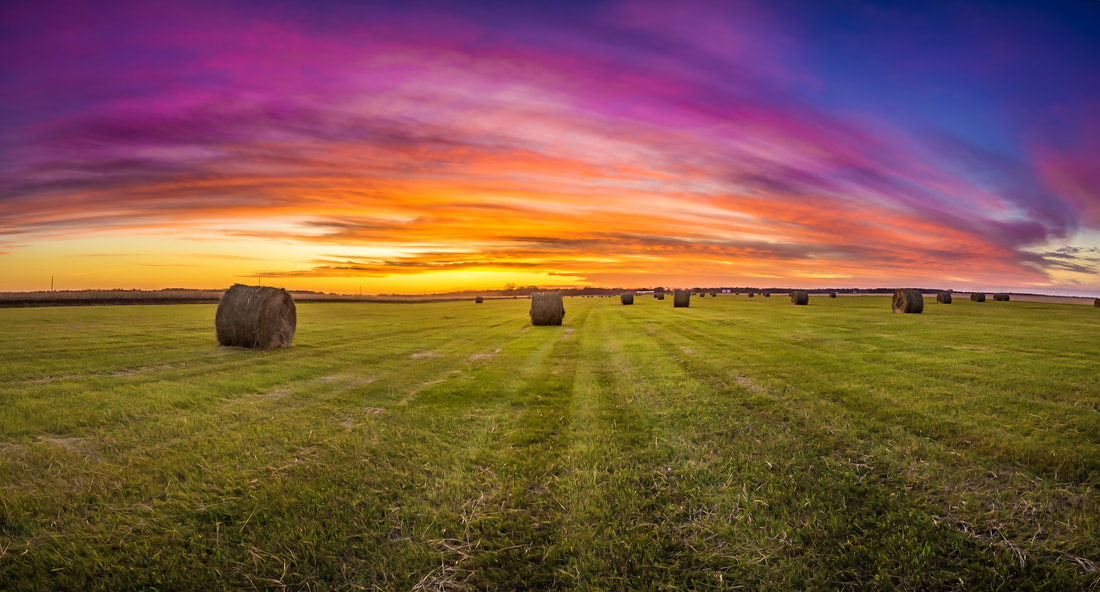 I always try to get my images exactly how I want them in camera, but sometimes, depending on the conditions, it's not possible. The image above was taken in a field near Fargo, and the colors of the sunset were gorgeous! I went out and took a panorama, while also getting three separate exposures for each of the six images I used to make the panorama. I edit my photos using Adobe Lightroom and Adobe Photoshop, and this image already looked pretty awesome, so I didn't have to edit it that much. The first thing I did was combine each of the exposures to create six different HDR images. I then created the panorama through Lightroom's Panorama feature. I increased the shadows to +100 and then lowered the highlights to -100. This created an image where I could see both the foreground and the sunset. The next thing I did was boost the vibrance and saturation to create some wonderful colors in the sky. I also warmed up the colors a bit by changing the white balance to more orange and pink. I adjusted the white and black point, and then boosted the clarity. My image looked pretty good...but the sky was still too bright. I used a gradient filter to darken the sky, and then I finished the image with some noise reduction and a vignette!
|